Ever since I started my YouTube channel, I’ve wanted a video, audio and lighting set-up that was self-contained and portable.
I’ve tried a number of different options and configurations in recent month … and I finally figured it out!
And since the question I get asked most often about my YouTube videos is some variation of “what gear do I use?”, I thought I’d write this post and send people here. So if you recently asked me this question and are now reading this post … HEY!
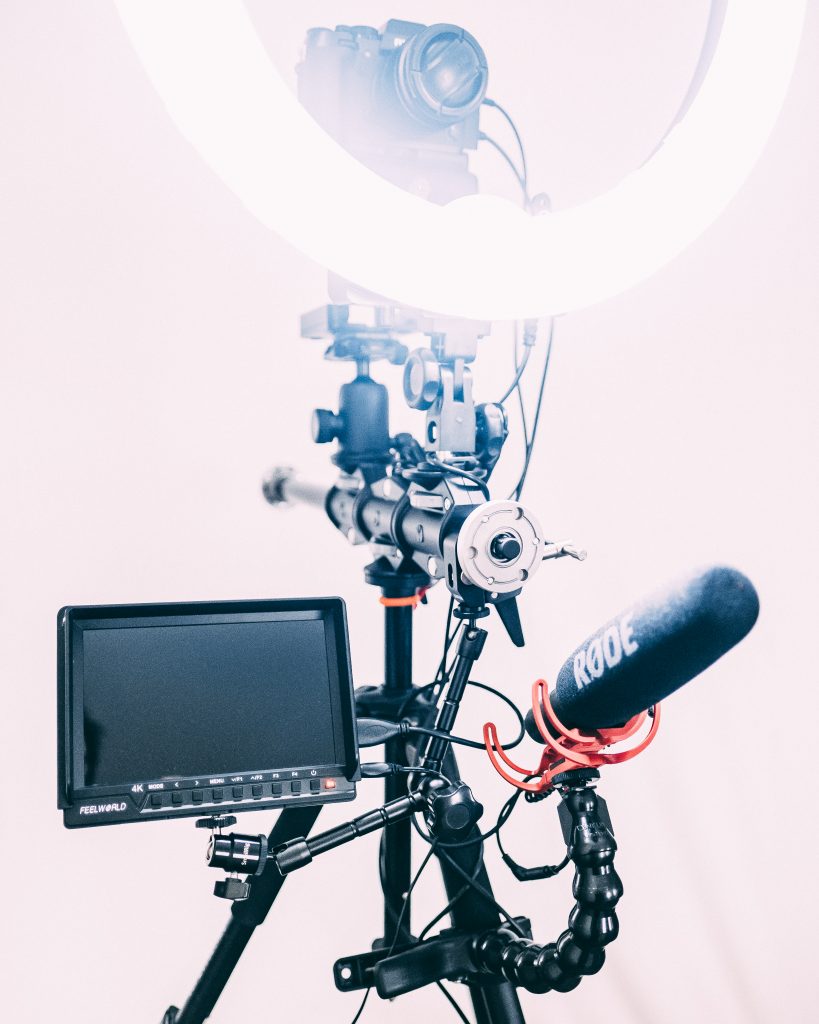
So here it is … my YouTube video rig. This is my Opus. This thing is a beast!

The foundation of the rig is a tripod with an accessory arm. The arm has several mounting heads, so it can hold my ring light and main camera.
I use a Magic Arm Clamp to hold my preview monitor, and a flexible clamp to hold the main Rode mic.
It’s a super simple and clean set up. I can move it easily simply by folding up the Tripod legs. And … I may eventually add a tripod dolly to the bottom, making it even more portable!

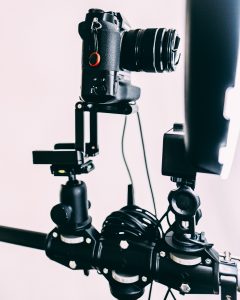
The only tricky part was getting the camera to a height that allowed it to shoot through the ring light—as this has a high mount. I solved that with a cheap Z-flex tripod head.
The result was a neat, portable YouTube video rig that is all levels of awesomeness.
You can find more info on all the parts at https://kit.com/aussiedave/my-new-2018-youtube-rig
